The Crust Lunar Harvest Mission — Outposts, Harvesting & the Road to the Laser
Published 2026-09-206 min read
The Crust lunar harvest walkthrough: how harvesting missions fit the campaign, the outpost loop that supplies them, and what the endgame asks of your factory.
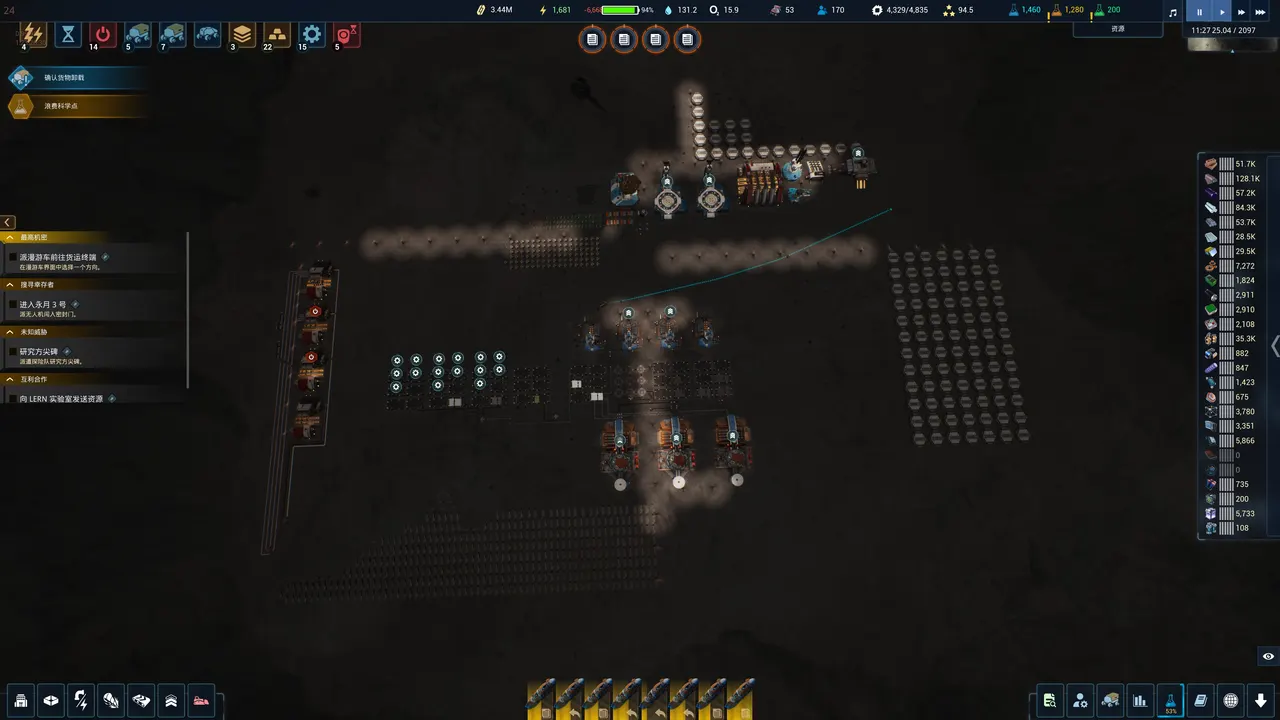
A note on the name first: players searching "lunar harvest mission" are usually chasing one of two things — the story missions that make the Moon give up its resources (rescuing survivors, shipping stockpiles, the endgame laser build), or the harvesting loop itself: probes, territories, outposts and trucks. This guide covers both honestly: the mission structure as the community has documented it, and the harvest machinery you'll tune either way.
How the mission flow actually opens
After the tutorial you're mostly free: expand, research and pick up missions in any order — with one trap. A Steam guide for the endgame warns that your surface rover can discover a broken mobile drilling rig, and repairing it triggers the final mission chain of the game ("can be compared to Factorio's rocket start"). The guide's advice: don't touch it until you're ready, because the moment it's fixed, the clock starts on a resource ask measured in the thousands.
The human side of the campaign starts earlier and simpler: before the first survivors move in you need the life-support quartet — beds, oxygen, water and food — which is the real "first harvest" milestone: ice miners and melters for water, electrolysis for oxygen, and your first farms on slag duty.
The harvesting loop that powers every mission
- Probe. Territory and resource probes unlock late in the research tree; on the orbital map, at least three territory probes must bracket a zone to claim it.
- Watch the two catches. Territories have a distance limit from your base ("all the nice spots are too far away" is a documented first-run experience), and claimed zones charge monthly rent — with a research that cuts it 25%.
- Build the outpost. Ship modules by cargo truck; power the site with an outpost RTG (30 energy); expand construction slots via the Outpost Structures research.
- Harvest. Helium harvesters tap deposits (one documented site held ~8,278 helium on a 12-week extraction cycle, with a +20% speed upgrade); the same territory system supports titanium, silicon and regular refinery outposts — "a chance to move part of the industry beyond the base."
- Truck it home. Set routes outpost-to-base, don't double up trucks on one route (they queue at the gate), and store harvests near the elevator. Full numbers live in the helium-3 guide.
What the endgame harvest check looks like
When you finally repair that drilling rig, the documented total ask (as of the guide's patch — expect drift) includes: concrete 3,950, titanium plates 3,765, steel 3,600, silicon 2,850, components 1,475, carbon fiber 4,955, modular frames 5,450, modular terminals 3,665, nanotubes 4,950, duralumin plates 4,200, microcircuits 128, control units 147, processors 350.
The same guide's harvest-scale advice doubles as mid-game planning:
- Refineries placed with spacing of 5 once underground belts unlock — build the pattern early so late-game expansion is copy-paste.
- The first 10 refineries can share single per-resource output belts; collect, merge, store.
- Scale means duplicates: multiple factories of the same type side by side, with storage between them (5,000 items ≈ 10 large storage containers).
- Run your own mining rigs before triggering the mission so the base isn't waiting on trucks to feed itself.
If a mission demands what you can't make yet
Timed contracts and story shipments stall cleanly into the same two fixes: more extractors on the right resource, and outposts if the deposits near base are spent. Check the research tree guide for what unlocks the machines a mission wants, and the campaign guide for how the story missions chain together.