The Crust Programmable Splitter — Setup & Priority Guide
Published 2026-09-205 min read
The Crust programmable splitter explained: how to unlock it, set splitter priority with the three-chevron tool, and use filtered splitting on mixed ore belts.
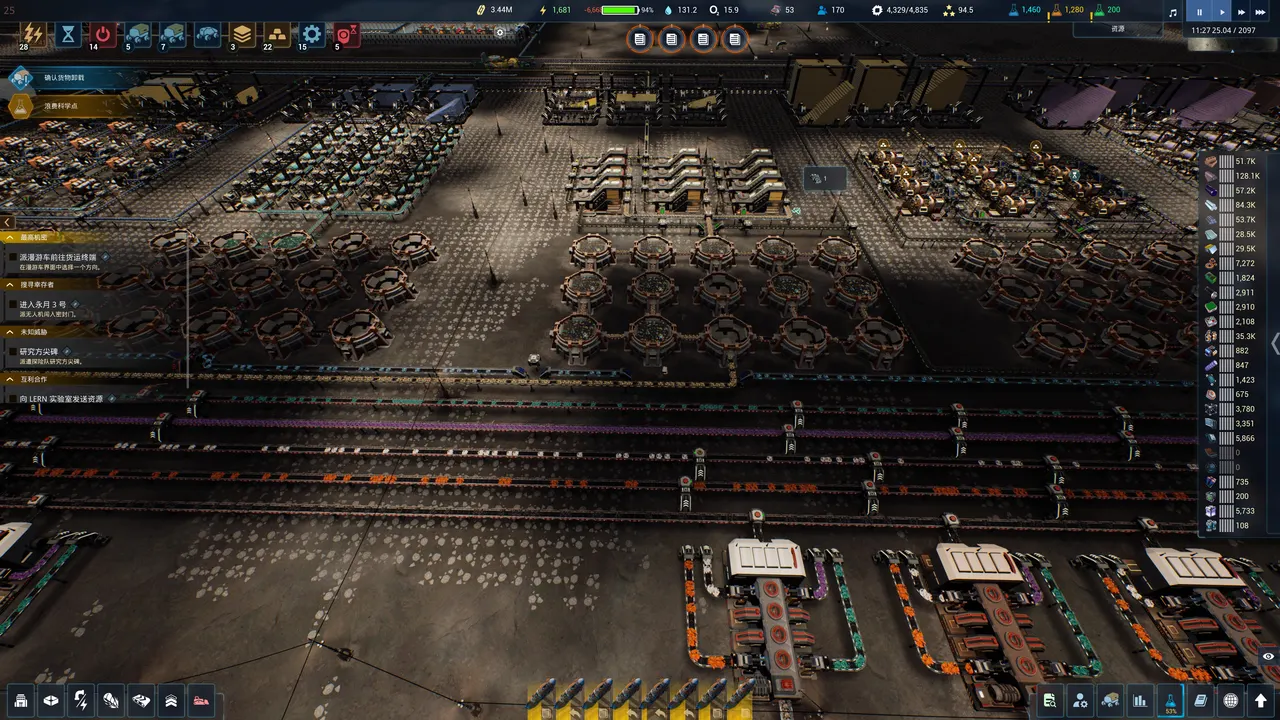
The Programmable Splitter is the research that turns The Crust's belts from "one belt, one resource" into true mixed-ore logistics: splitters that can be told what to pass, what to hold, and which direction wins when two streams collide. It sits deep in the Engineering research branch, and the community consensus is blunt — one player who unlocked it late called it something "that should be at the start" of the tree.
What it does
A normal splitter just divides whatever comes in. A programmable splitter can be configured, per item type, to filter — route specific oxides to specific outputs. That's what lets a single mixed regolith-product belt feed a whole row of matching smelters: the splitter holds back everything except the one ore each machine wants. On the wiki this research has historically been flagged as work-in-progress behavior (check the exact options in your build before planning an entire hall around it), but the priority tools below are standard splitter configuration every player uses.
Priority: the three-chevron tool
Every splitter (and every belt junction) has a priority setting shown as chevrons on the belt arrow:
- Three chevrons (orange) — high priority: items on this input pass first.
- One chevron (green) — low priority: whatever's left.
- Equal priorities split evenly; unequal priorities starve the low side first.
You also use the same three-chevron logic on drone task priority (a separate tool): mark cleanup high (orange) and resupply low (green) so idle drones stop wandering.
The roundabout pattern (community favorite)
The clearest documented use is the "Roundabout Multi-Regolith Refinery" setup from the Steam Community guides:
- Build a closed loop of belt around your refinery row (Belt 2 recommended; T2 belts in the guide's screenshots).
- On the outer belt, give every splitter high priority to the direction of travel — "just like traffic on a roundabout." Items already circulating always win; entering items merge only when there's a gap.
- Off-ramps: connect a belt where you want oxides to leave, set that splitter to pass the oxide you want, and leave its priority normal. Upgrade off-ramps to T2 so they don't throttle the ring.
- Slag can exit either side — just re-route the belts; the loop doesn't care.
- The guide's author likes it because oxides "can be pulled from the outer belt in any direction," which makes it agnostic to how the rest of your factory is laid out.
Requirements per the guide: Multi-Regolith Refineries, Belt 1 (Belt 2 recommended), small or large bulk storage, Belt Undergrounding, and Programmable Splitters.
Splitter basics that still apply
- Drag a belt sideways into another belt and the game builds a merger; drag sideways off a belt for a splitter — no menu needed.
- T flips a building's input/output sides — the one-key fix for belts facing the wrong way.
- Underground belts are point-to-point only: they cross lanes, they don't distribute.
- Bulk storage accepts belt in/out; small general storage does not connect to belts at all.
Where it fits your base
Filtered splitting is the backbone of the main bus design: one trunk carries sorted oxides, and programmable splitters peel off each type toward smelting rows without a spaghetti of dedicated belts. If you're still at the "which machines go where" stage, the layouts guide covers the zone planning first.